Hunting for artefacts and accent pieces for your home is often a lot more exciting than getting the room furnished. And, let’s face it, without the artwork, your room will not have a warm, lived-in ambience, irrespective of how much you spent on getting the interior done.
However, the joy of buying that perfect piece may turn into a nightmare; when you don’t know anything about art placement. Questions like where to hang it, how high to hang it, and what goes with it will flood in, raising your stress levels. Of course, you can throw in the towel, and hammer a nail randomly into the wall and hang the painting. That will allow you to glare at it with a jaundiced eye when you come back from work. Sounds upsetting? It need not be. You, too, can hang up your artwork like a pro.
Here are some tips on art placement and how to go about it.
Craning Your Neck To Admire Your Painting?
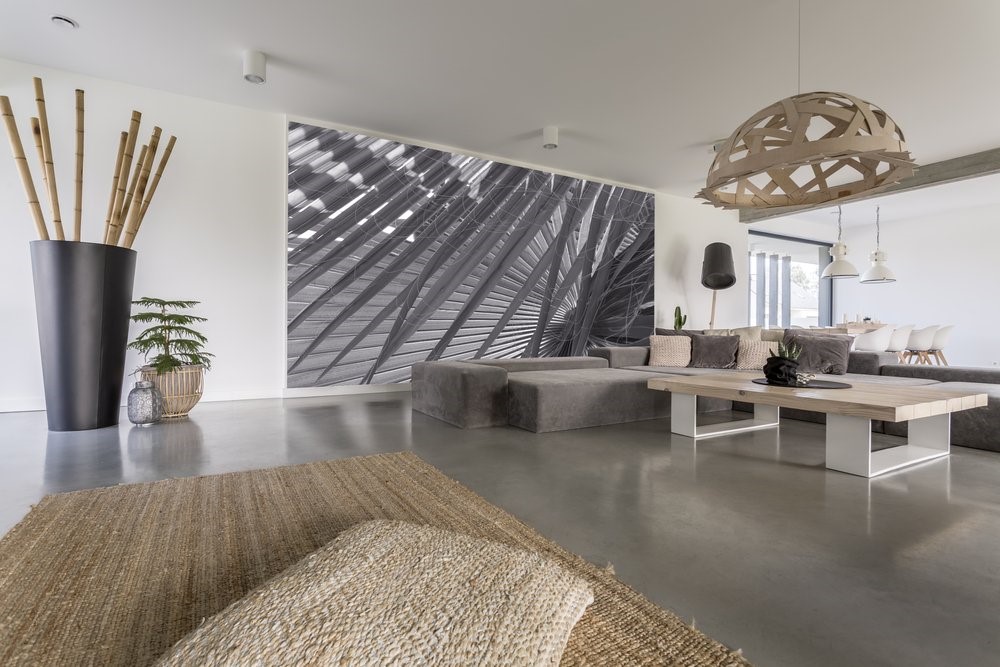
All too often, you see paintings that are placed too high on the wall. By the time you finish admiring it, you will feel the strain in your neck. Follow this thumb rule, and you will have no problem getting it just right. The centre of your painting should be about 57” from the floor. The artwork will be at eye level, and there will be synchroneity with the rest of the artwork in your room as they are at the same visual level.
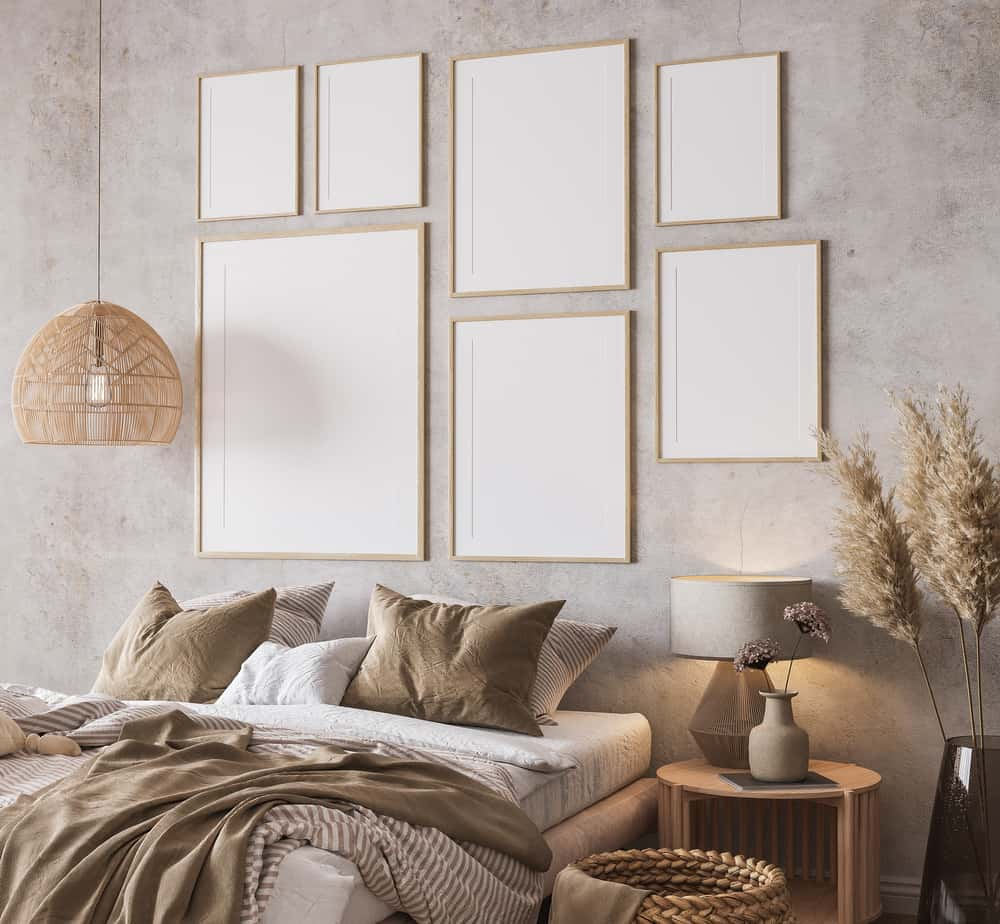
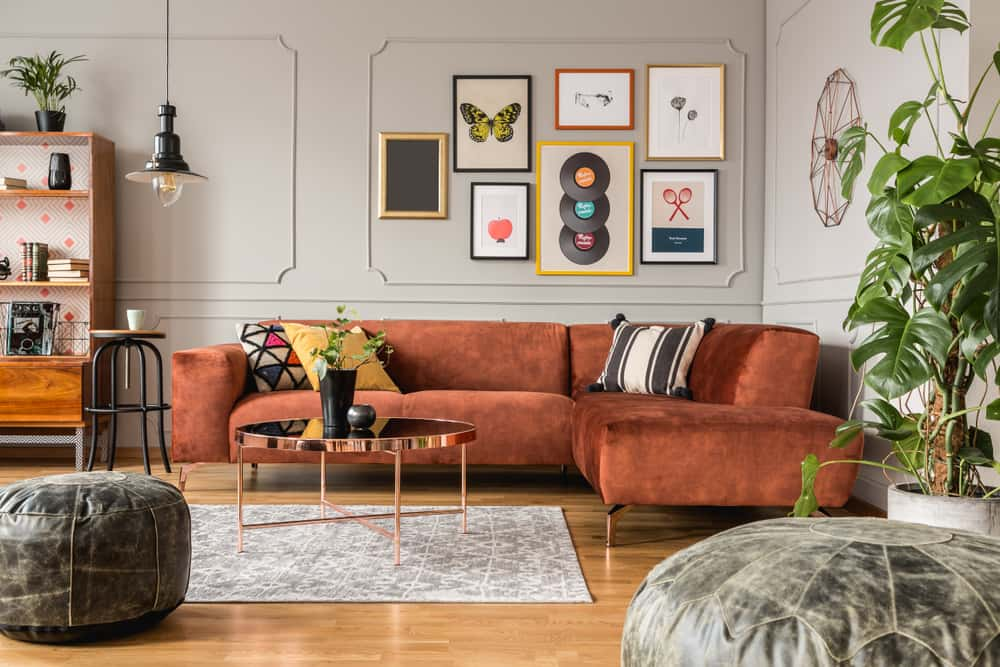
When You Are Dealing With A Collection Of Artworks
Your collection should be placed just right, not so spread out that it is out of the line of furniture. And if you have only a couple of small frames, they will get lost on your large wall.
Going salon-style can be a tricky affair. Done right, it can become the talking point of your room. So, how do you create an amazing wall with your collection of small frames without going crazy with the hammer? It’s quite simple. Just cut some paper in the same size as your artwork and decide on how you want to place the pictures using the paper as a guideline. You can put up paintings, family photos, or even wall sculptures once you know what goes where!
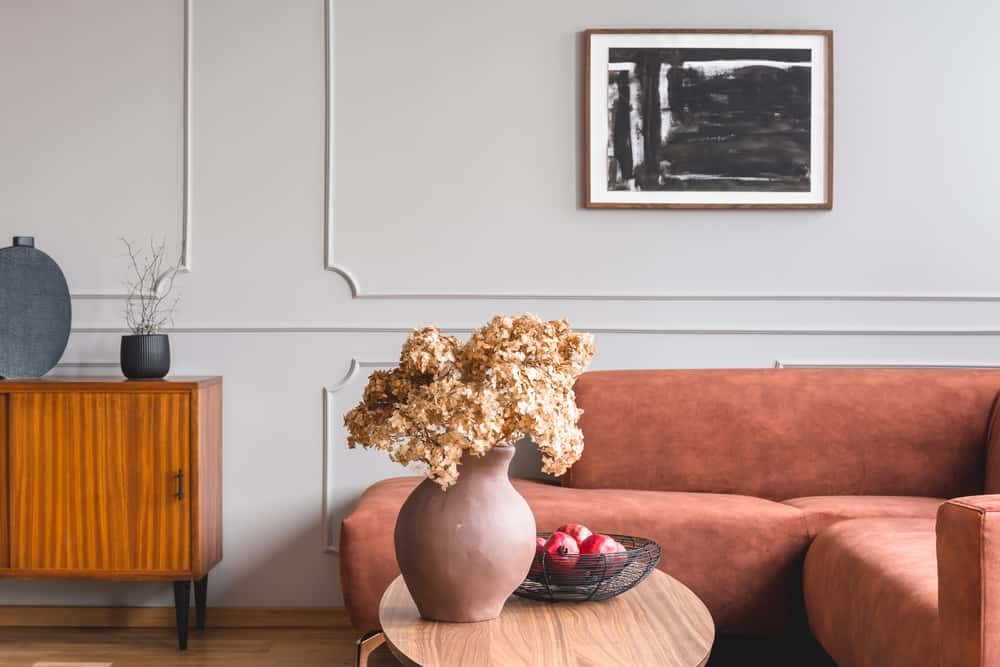
Everything Does Not Need To Be Nailed Down
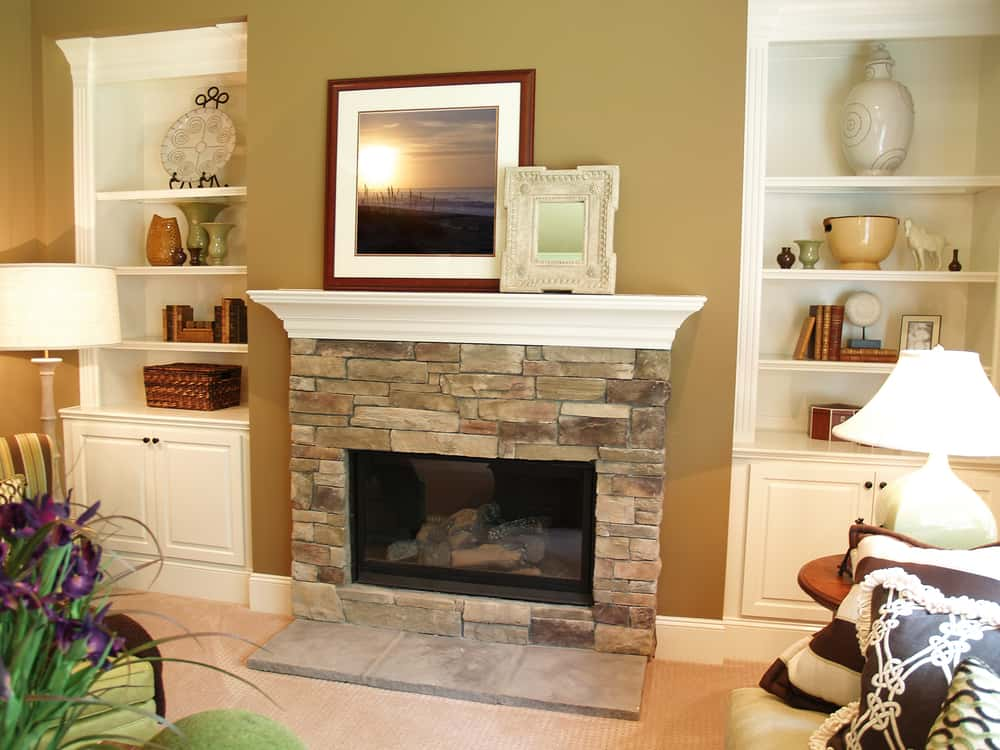
A Painting can make quite a statement when it is propped up against the wall. A planter placed by the side will add that extra interest without distracting from the artwork.
A medium-sized painting can be propped up on the sideboard or console, giving the perfect balance to the candle stands!
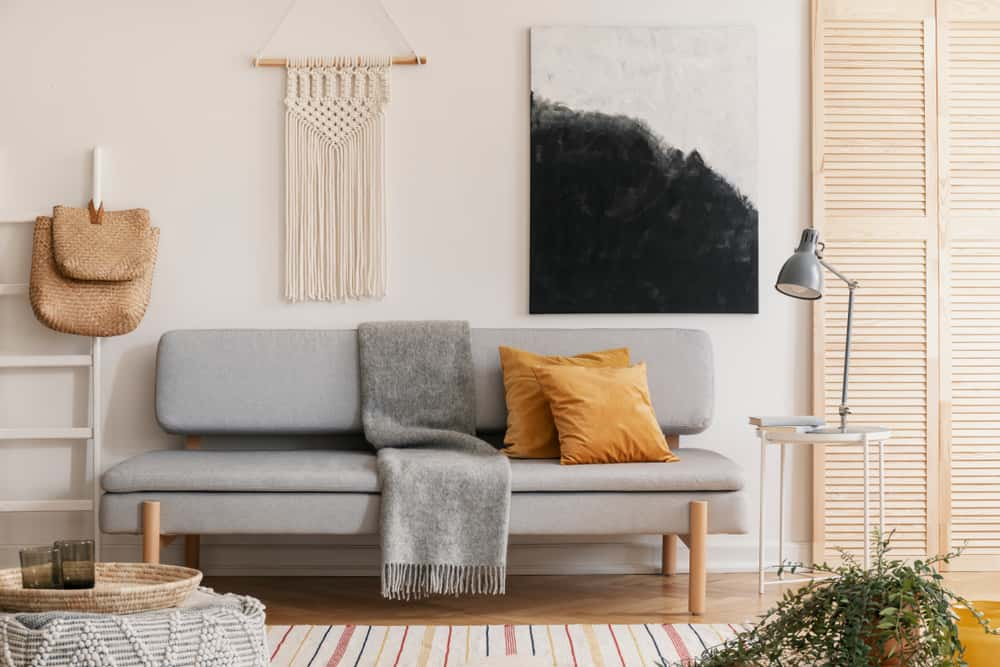
It Is Not Only About Paintings
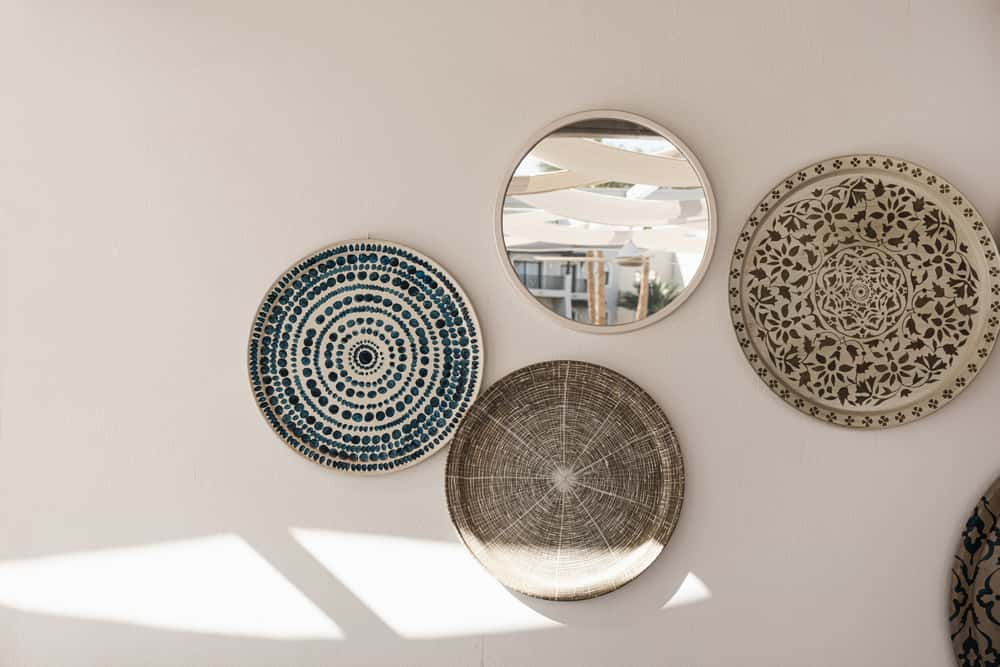
A painting on the wall is a cliché. Something that is expected. However, there is a lot more that can go on a wall. A framed family photo collection is one way to go. Ceramic plates lined on in a small area look enchanting.
Other objects you can put up are tapestries, wall hangings, quirky baskets or even mounted shell collections. An antique mirror in the entranceway would really jazz up the area.
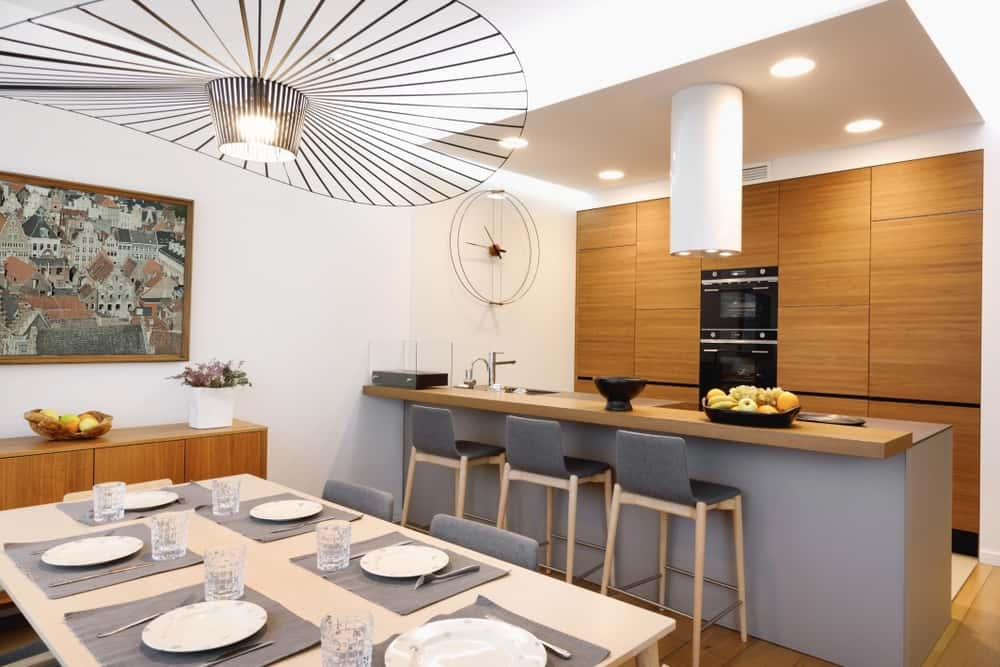
Kitchens Need Wall Art Too
Copper and ceramic plates work wonders in a kitchen. But why stop there? A painting makes a dramatic impact in the kitchen. The best part is, you can change the messages or quotes as often as you can. Antiquated clocks, framed recipe collections or shelving units for your colourful mug collection are some of the other options you can go for.
Some Handy Tips To Help You Along
- Locate your focal point. It could be the wall behind your sofa, the back of your bed, or the console in the dining area. Let your artwork do the talking
- Art grouping should ideally be limited within the borders of the furniture
- Bigger paintings go on big walls. For smaller areas, select small frames or artwork. This can be on staircase landings, the entrance passage, or a niche in the room. You can even smarten up the ungainly column in your living room with artwork!
- If you have a large wall, your paintings can handle extra spacing between pictures
A Step-By-Step Guide To The Perfect Salon Look
- Place the frames on the floor and move them around until you get the desired arrangement
- Trace each art piece carefully on craft paper. Locate the hanging points on the artwork and trace the exact position on the craft paper
- tape the papers on the wall, in the position you desire
- finally hammer in the nails and remove the paper
- Voila! Your pictures are ready to go on the wall!
Art placement is not difficult, but it helps to have a knack. Rushing it won’t work. So, put a bit of thought into it before taking the plunge. If you are still confused, experts at HomeLane can help you get it right. What are you waiting for? Spruce up that room!
Read the Original Article Here: How to Hang Art Like a Pro?